How to Replace the Bose SoundSport Wireless Control Talk CTC Cover
The Bose SoundSport Wireless earbuds use a rubber button cover for the volume up/down and play/pause buttons. This cover tends to develop holes in it which can cause the earbuds to become defective from moisture or sweat being allowed into the buttons.
This repair is fairly straightforward but you are working around small electronics that can be easily damaged. It requires patience.
Parts you'll need 🧰
If the tool cost seems prohibitive, check out our repair catalog to see if we offer repair services for your device. If it's not listed, we don't repair it.
_____________________________________________
1. Remove The Old Cover
**If you are looking for the wiring schematic of the control talk board, check it out at the bottom of the article**
Start by heating up the rubber cover that covers the control talk buttons using your heat gun. Set your temperature to around 180 degrees and continuously move the hot air around the perimeter of the rubber cover. ***Make sure to not hold the hot air in one spot for more than a couple of seconds otherwise you will run the risk of damaging the earbuds.
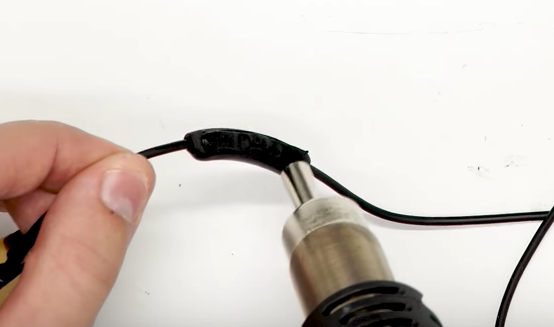
Now you can remove any of the top rubber cover that is still left on the control talk.
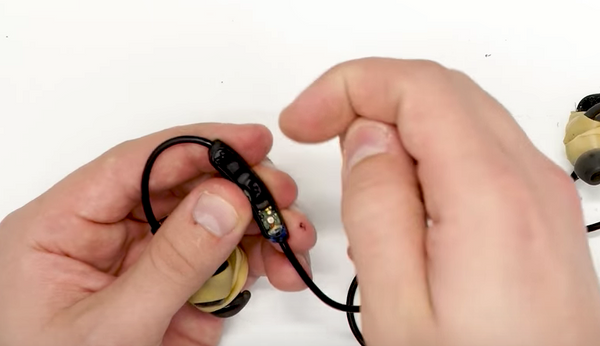
Insert your pry tool into the gap on the side of the control talk plastic housing and slowly pry up each side of the top corner. You will need to work your way around the entire edge slowly, so be patient and take your time :)
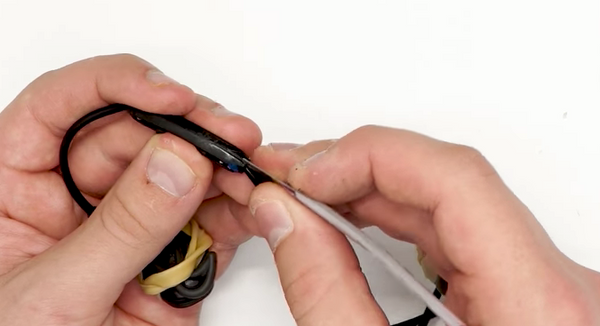
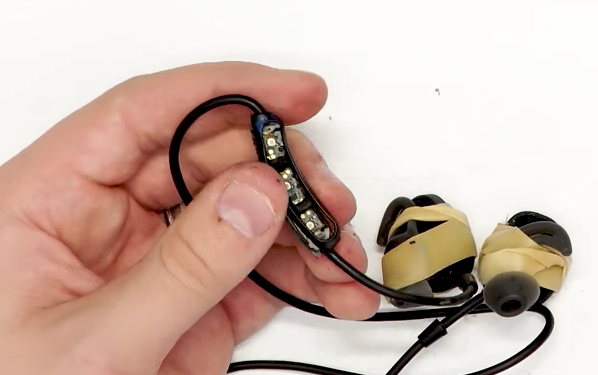
2. Remove Any Residue
Using your Small Flat Edge Screwdriver clean off any glue or adhesive residue from the lip of the bottom piece of the control talk housing.
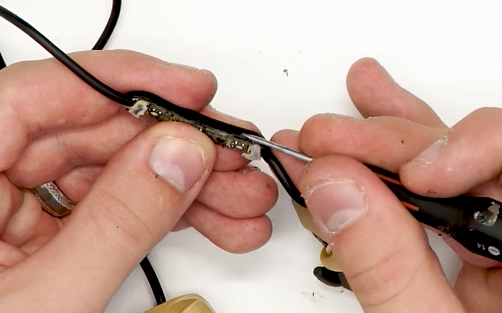
Now, test fit your new control talk cover to ensure that it fits properly and has no gaps around the seam of the two pieces. If the cover does not sit evenly or has gaps, remove it and continue to clean the edge of the bottom housing.
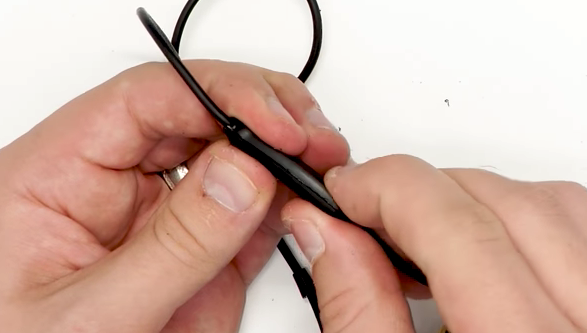
3. Adhere the New Cover
Put a thin line of B7000 Glue around the lip of the bottom control talk housing.
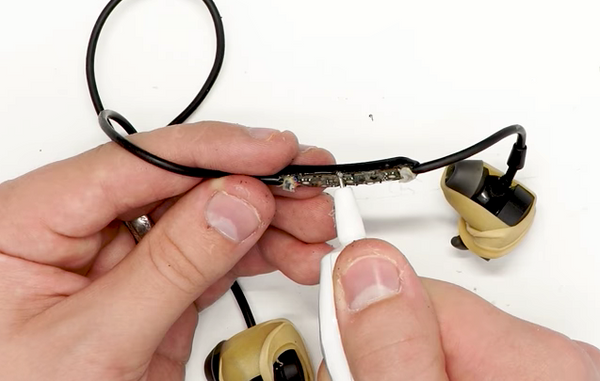
Push the new control talk cover into place making sure that it sits flush against the bottom housing. If some glue oozes out of the sides, don't worry about it, you can easily wipe it off after the glue has dried.
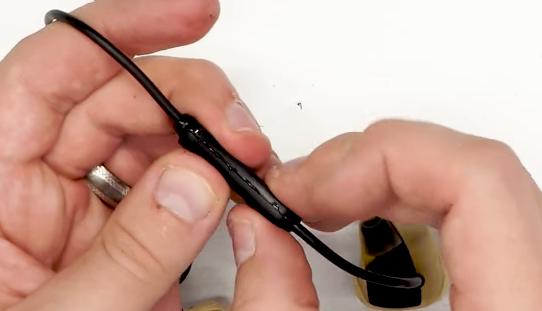
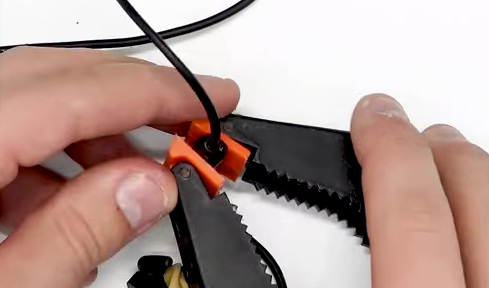
We use a clamp as pictured to hold the two pieces together for around 30-60 minutes but you can use a rubber band or something similar to hold the two pieces together. Just make sure to allow at least 30 minutes for the glue to dry.
P.S. If you need the wiring schematic for the back of the CTC, check out the one that we use below.

